The military history of the Boer War can be broken down into three distinct phases. In the first the Boers attacked three of the population centres around the disputed goldfields at Kimberley, Mafeking and Ladysmith. Shocked at the effrontery of the Boers, the British launched a campaign to relieve those towns; this makes the second phase. The final, and longest chapter follows the relief of the towns and the Boer retreating into the huge hinterland. This last chapter required the British to maintain control of four things, the railways, the townships, water, and ultimately force control on the Boers. The war finally took the British and Colonial army around 400,000 troops to finally subdue the Boer.[1]

Few Whitchurch men fought in the first chapter of that ugly war, largely because it took Britain some time to mobilise for a full-scale war. Those that did were either reservists or regular soldiers, like Private William Brown and Lieutenant Thomas Henry Rivers Bulkeley, respectively. Both regular and reservist soldiers could be transferred to South Africa quickly. It soon became apparent the Boer War would be neither quick nor cheap. Far more troops had to be dispatched than the British government had initially foreseen, so Imperial Volunteers were called for, and many Whitchurch men joined the Colours. It may be that they thought it would all be over quickly, certainly that urgency drove the next generation in 1914, so Whitchurch men in large numbers joined the British cause. In a substantial difference to the First World War, itself only fifteen years later, the majority of the Whitchurch men joined the Imperial Yeomanry (Cavalry). This reflects the huge distances involved in the South African campaign – cavalry made a logical choice when increasing the size of the British field force.
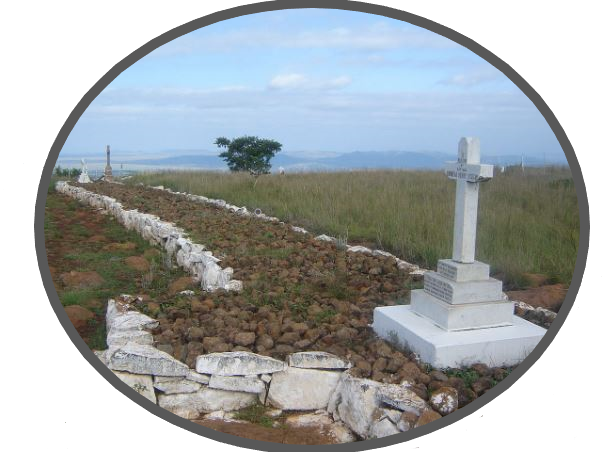
By far the biggest input to the war by Whitchurch men relates firstly to the relief of the townships and later to the capturing or killing of the Boer. The townships were seen by the British press almost as colonial outposts in need of urgent relief. Added pressure came from the continental press, who enjoyed watching Britain struggle, while at the height of its powers. The conditions in the townships of Kimberly, Mafeking and Ladysmith were becoming increasingly dire – infant mortality in Kimberly rose to 93.5% during the siege as food and medicines were consumed. British pride, already dented, poured men and resources into the relief of the townships. There were a number of pitched battles during this phase, Spion Kop being one of the better known, even though it was a clear Boer victory. The Lancashire Fusiliers who fought there took the word ‘kop’ back to Liverpool, where has became well known to football fans.
The Imperial Yeomanry itself had a poor reputation with the British Army. This was largely because the Yeomanry had little training of any sort. Added to this was the problem of all rapidly expanding armies – the difficult in finding officers to effectively lead them. Only late in the war did the British recognise that training the Yeomanry troopers before they left Britain was the only way to improve performance. The Yeomanry itself reflected an overestimation of what poorly trained and led British soldiers could achieve. Added to that torrid mix was a wild underestimation of what the Boers were capable of.
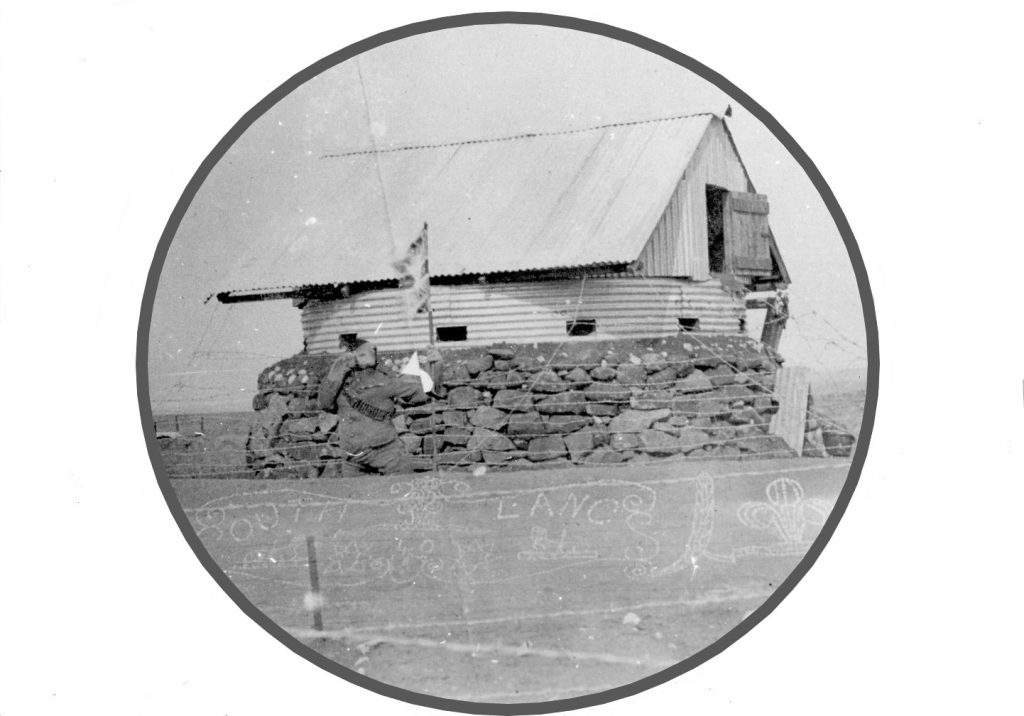
The last part of the war is the hardest to plot, largely because of the lack of surviving written records. Finding it difficult to locate the Boer, who became efficient at hit-and-run attacks, the British started using armoured trains and building around 8,000 blockhouses (mini forts) – linked by wire and telegraph.[2] These suited the British well and slowly squeezed the large areas of land available for the Boer to roam. A combination of the blockhouses and the British scorched earth policy (burning the Boer farmsteads and crops) finally brought victory to the British Army, even if the cost was far too high for the returns gained. The lack of pitched battles this late in the Boer War, can be seen by the comparative lack of written record. The fights that took place were small in nature, barely skirmishes, while large in number and made for few headlines or even reports.
For Britain, the Boer War was by far the most expensive at £211 million (Around £202 billion at 2014 prices) and also the British Army lost far more soldiers, 22,092 killed or died of wounds and 75,000 returned home wounded or sick.[3] Britain also failed to learn a hard lesson which may have been some use only twelve years after the conclusion of the Boer War: wars are easy to get into but frequently much more difficult to successfully conclude. A war that had started over the greed of both sides ended by crippling both sides for a generation.
[1] Nash, Eveleigh, Nash’s War Manual (London, 1914)
[2] Jones, Maurig (1996). Blockhouses of the Boer War Colonial Conquest, magweb. Archived from the original on 13 May 2008. Retrieved April 2020.
[3] Pakenham, Thomas, The Boer War (New York: Random House Publishing, 1979)